(3).png?fit=max&auto=format&n=1jDnanukh7KJkGxS&q=85&s=0547dd6dbea96edd3d4001bf5e5a5d8a)
When someone completes a survey → Tag the customer as “Survey Respondent” and send an email.Unlike other Apricot integrations, Shopify Flow does not require any configuration inside Apricot. Everything is set up directly in the Shopify Flow app. If you don’t have the Shopify Flow app installed yet, install Shopify Flow from the Shopify App Store before continuing with the steps below.
Create a Shopify Flow Workflow
1
Step 1: Open Shopify Flow and create a workflow
From your Shopify Admin, open Shopify Flow.Click Create workflow to start building your automation.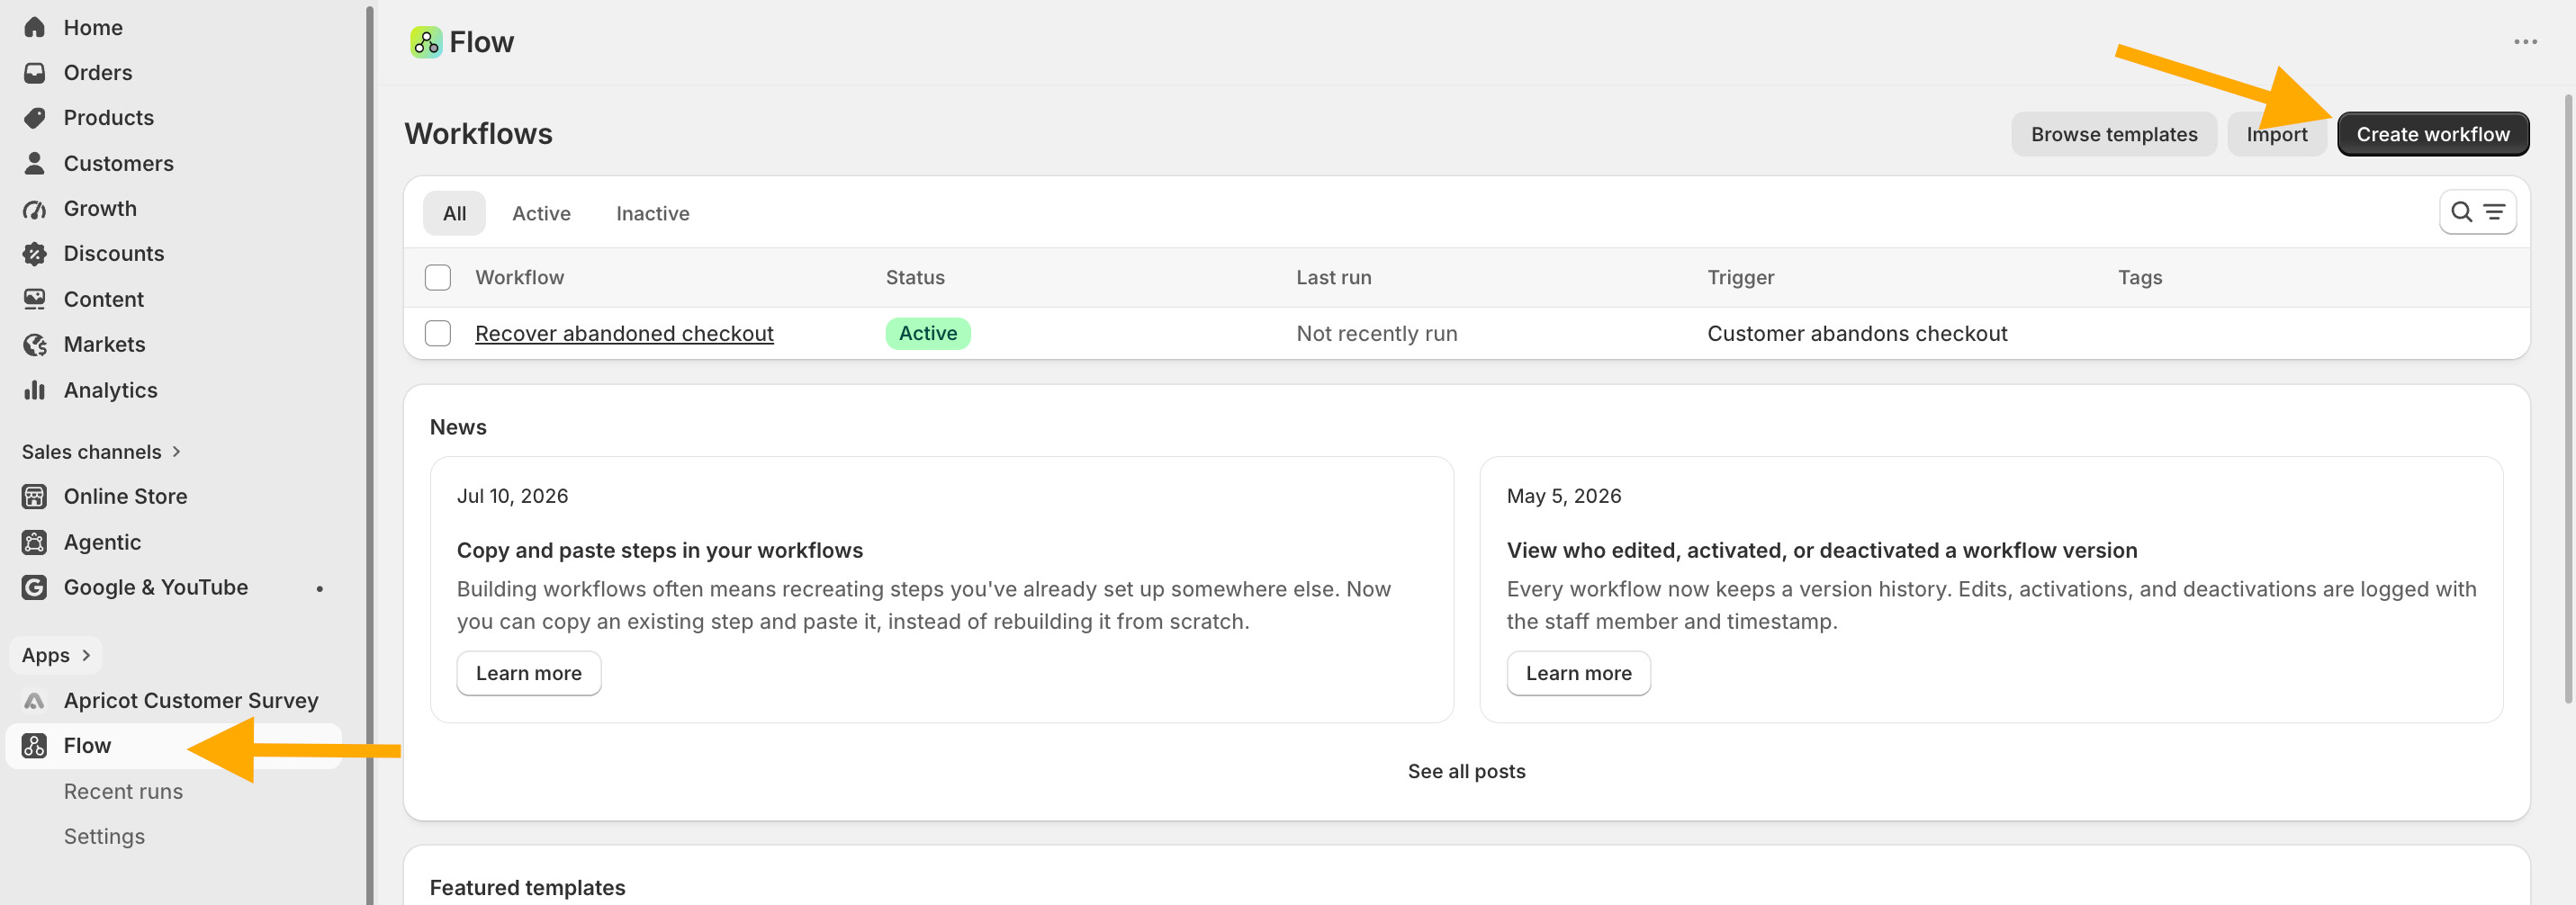
2
Step 2: Select Apricot as the trigger
Click Select a trigger.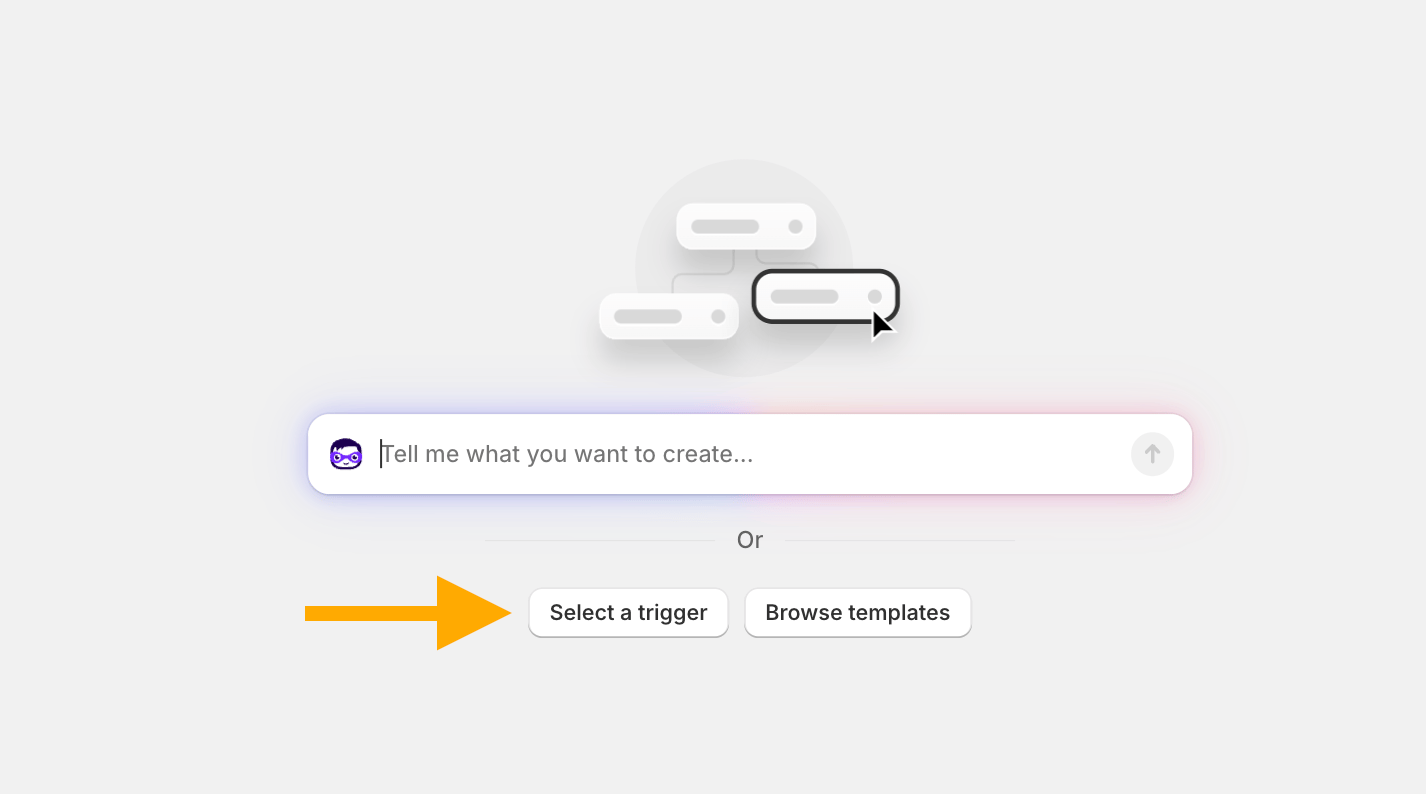
3
Step 3: Choose Survey Submitted
Select Survey Submitted as the trigger.This tells Shopify Flow to start the workflow whenever a respondent submits an Apricot survey.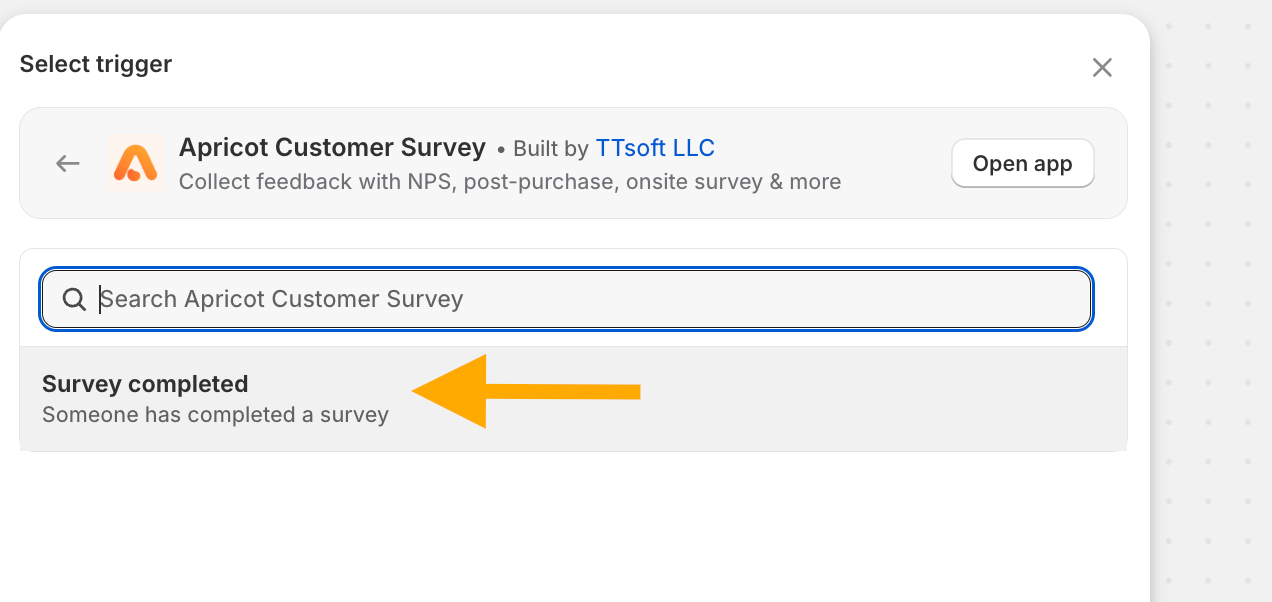
4
Step 4: Add conditions
Click the + button below the Survey Submitted trigger and select Condition.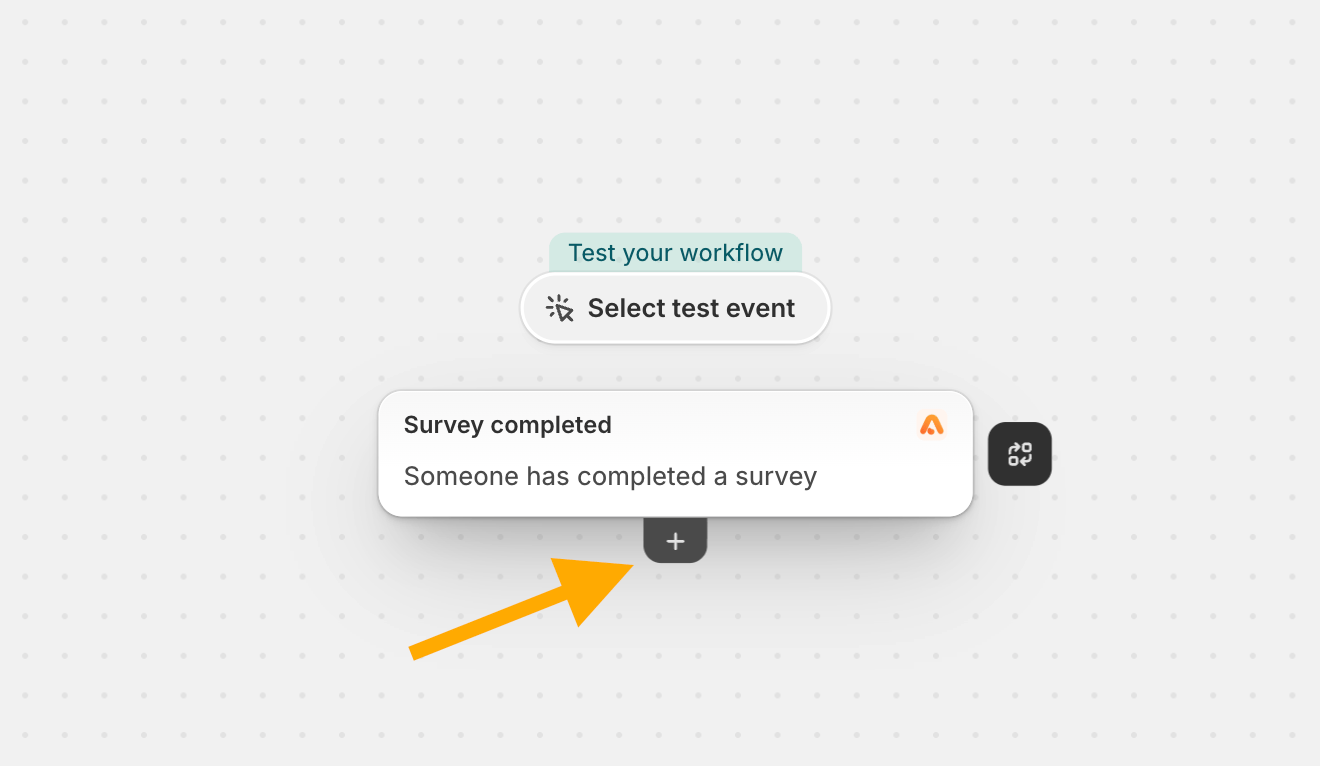
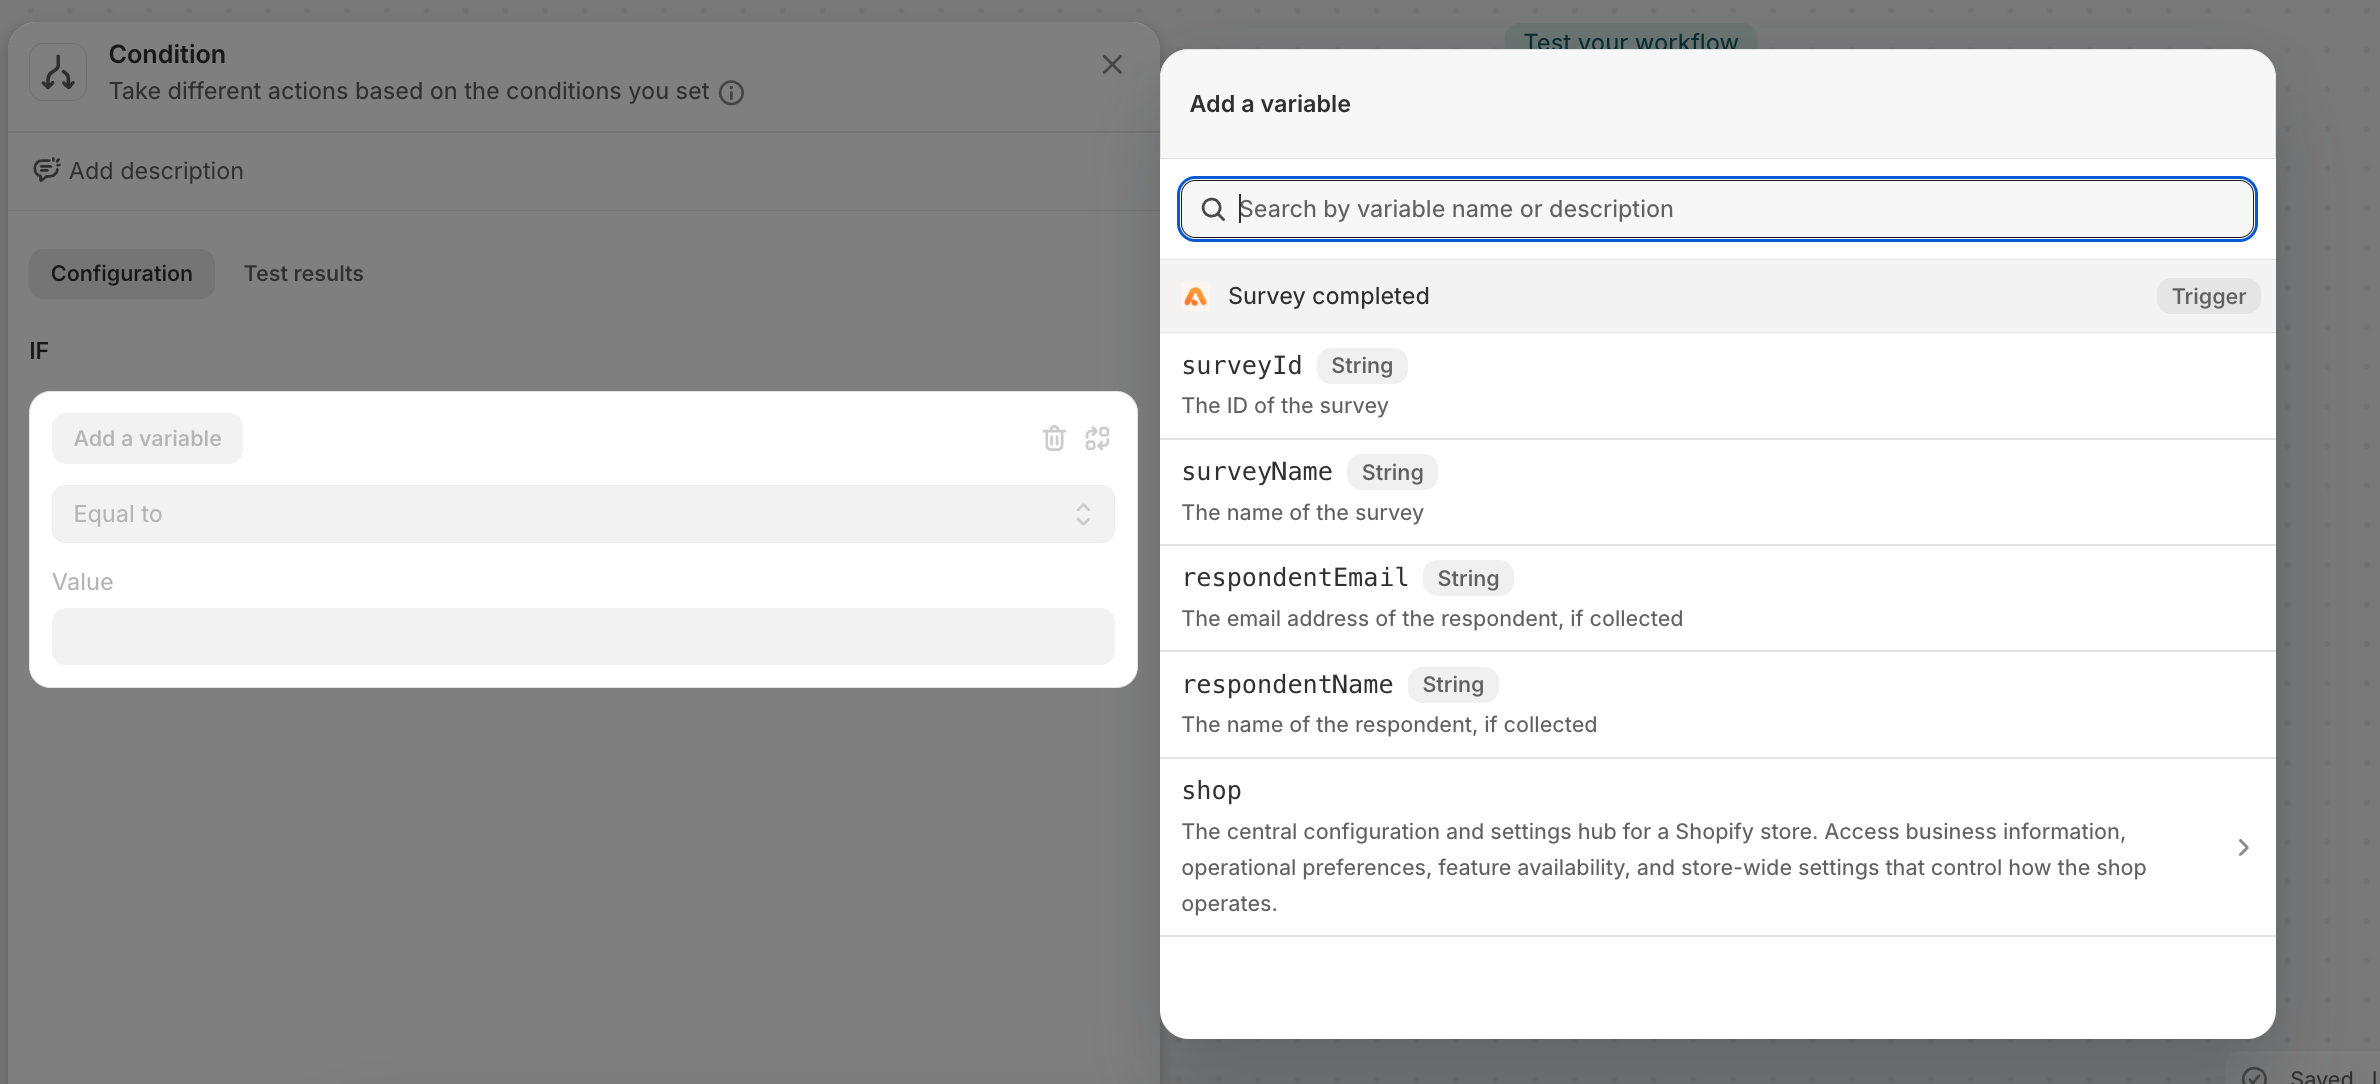
- Survey ID
- Survey Name
- Respondent Email
- Respondent Name
- Shop
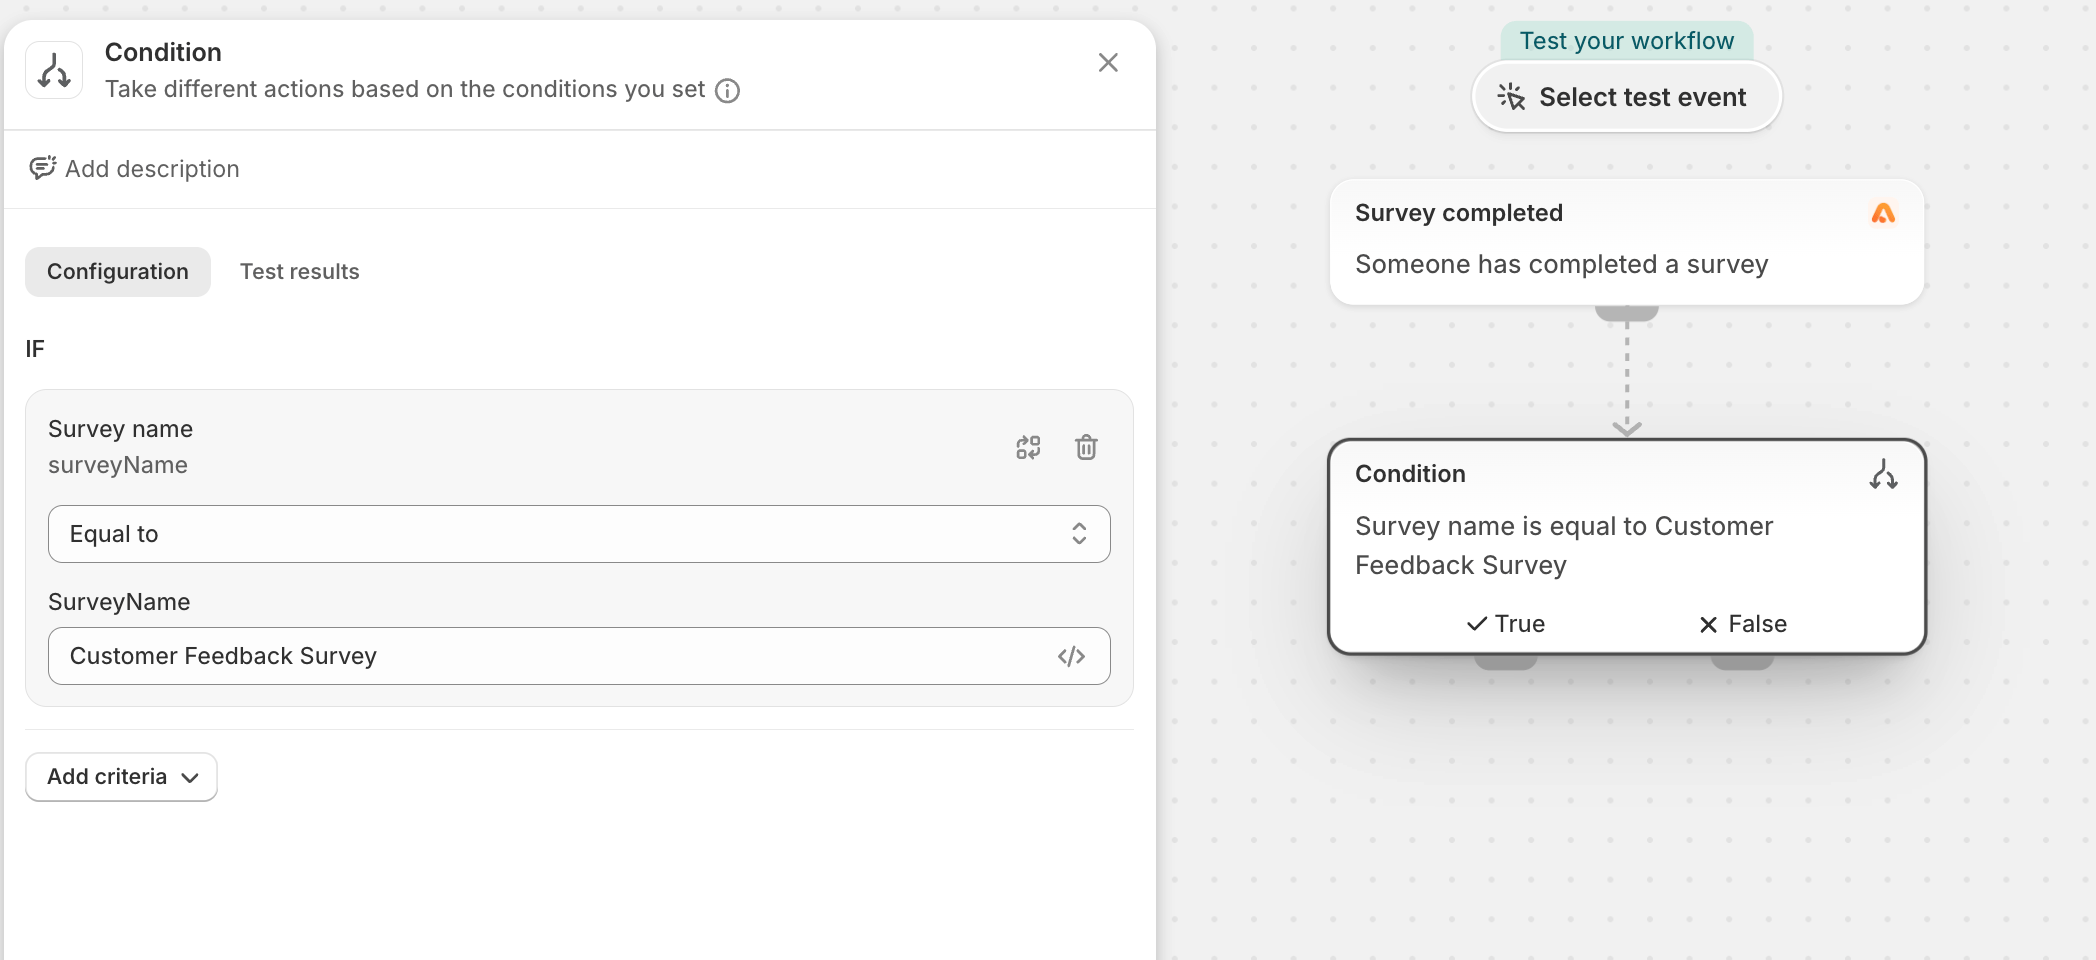
If Survey Name is “Customer Feedback Survey”Once you add a condition, Shopify Flow creates True and False paths. You can add different actions to either path, or use the same action on both paths, depending on your workflow.
5
Step 5: Add an action
Once you’ve added your condition, click the + button under the True or False path, depending on how you want the workflow to continue, and select the action you want Shopify Flow to perform.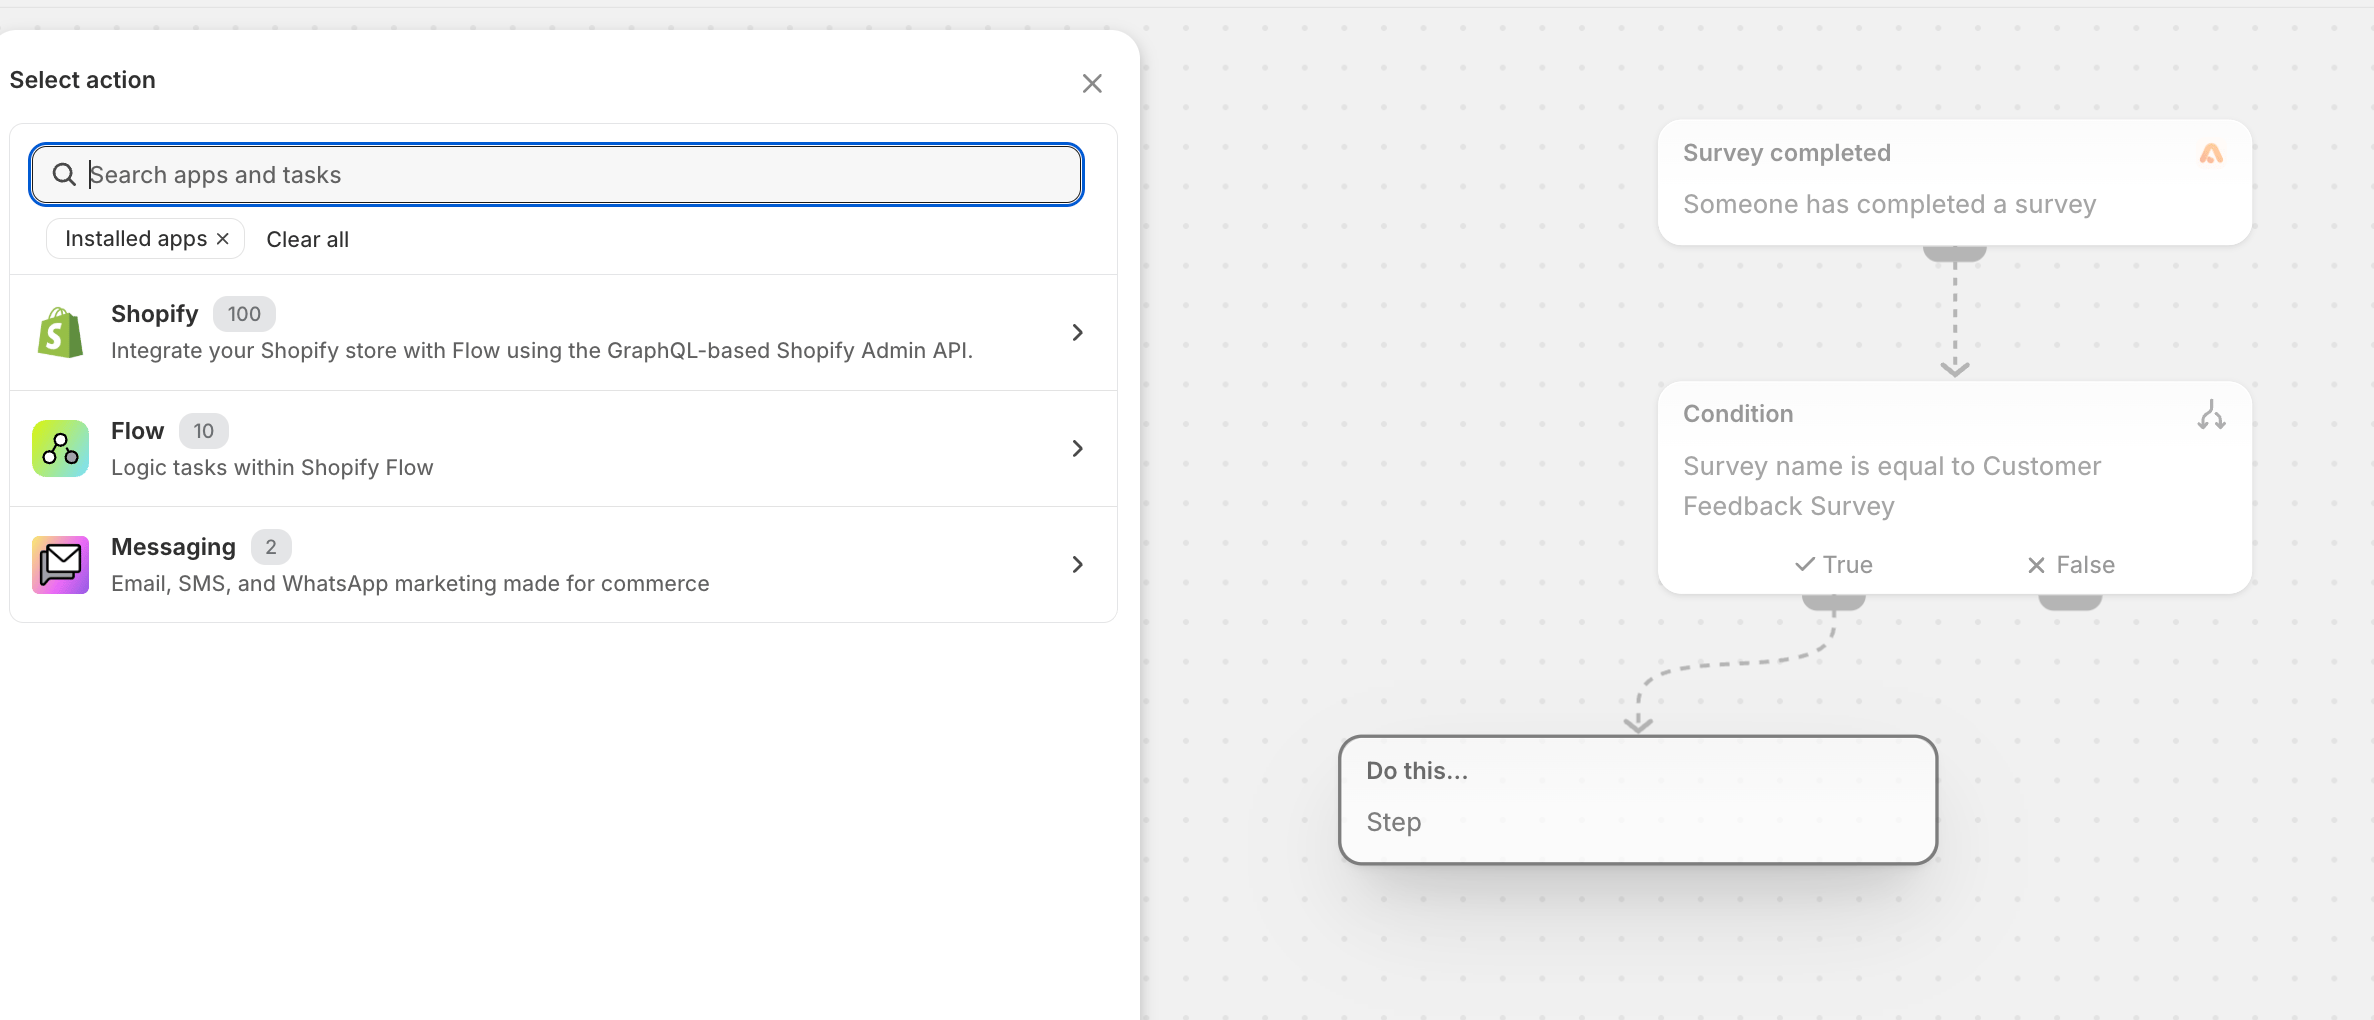
- Add a customer tag
- Send an email
- Update customer information
- Start another automated workflow
6
Step 6: Save and activate your workflow
Once your conditions and actions are configured, click Save and activate the workflow.Shopify Flow will now automatically run the defined action when an Apricot survey submission matches your condition.